Lesson #12 HUD
Crosshair
We will be using widget blueprints to create HUD elements.
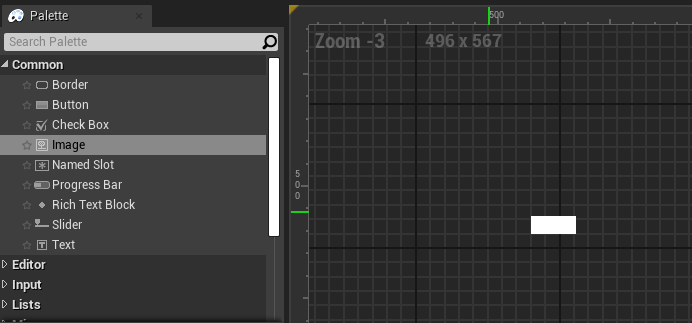
Create a Widget Blueprint by right-clicking in the content browser and selecting User Interface. Then launch the Widget editor. Drag and drop an image widget from the Palette.
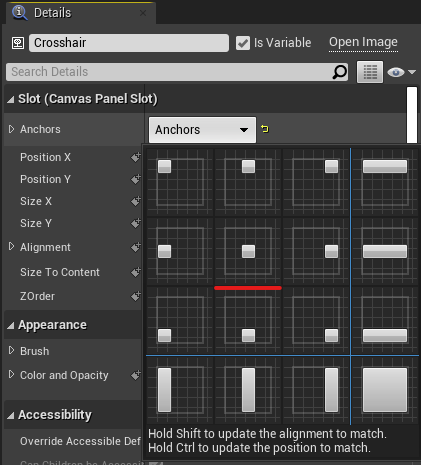
2. Place your widget and rename it Crosshair in the details panel. Then, in the Anchor dropdown menu, select Center Position. Set your widget's x and y coordinates to 0.
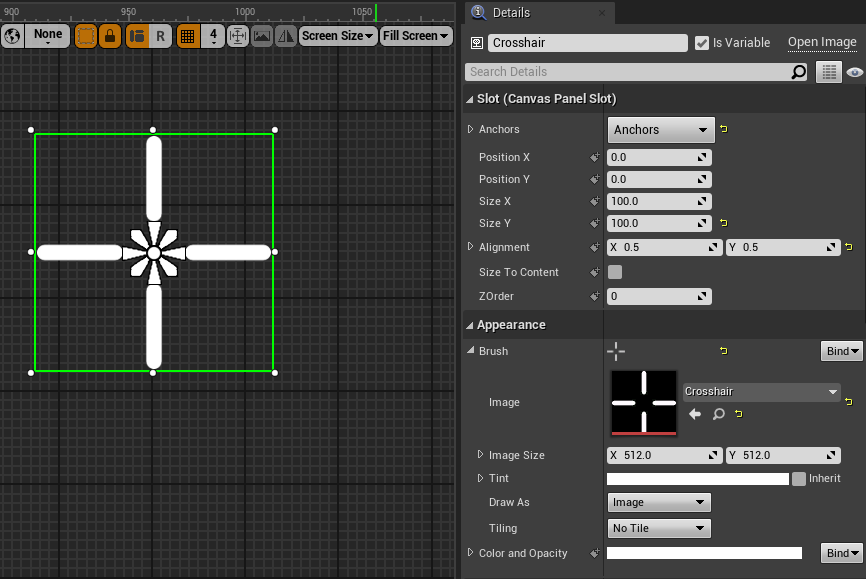
3. Choose our crosshair image in the Appearance section > brush. Size it to 100 x 100. Compile and save your work.
HUD
The HUD is the blueprint that contains all of the widgets. In World settings, you can configure your default HUD.
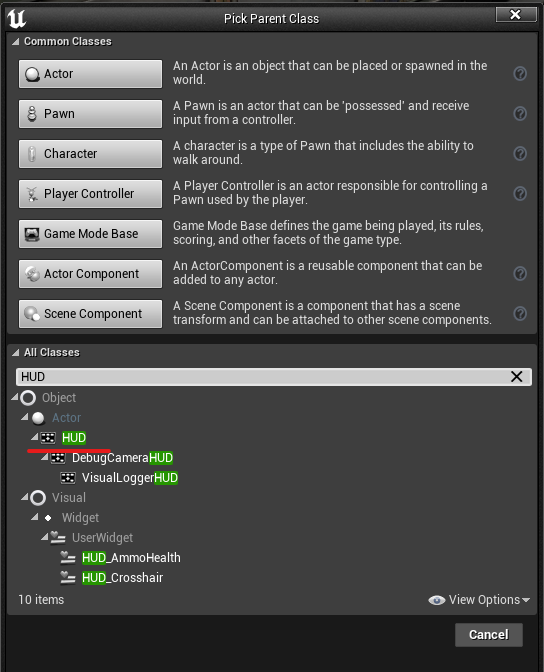
1. Let's make a HUD. Make a new blueprint and look for HUD in all classes. Make a new variable and name it BP_FPSHUD.
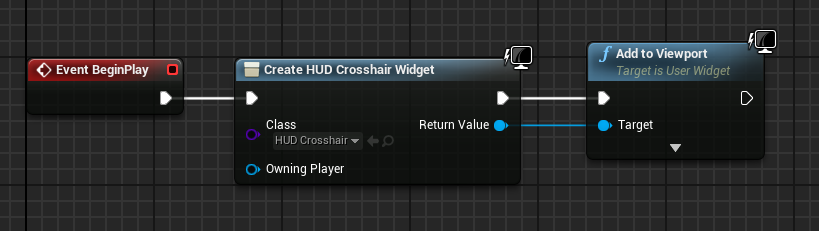
2. Open its Event graph and add a CreateWidget node from the start of play. Create an Add ToViewport node from the return value. Select our Crosshair blueprint, compile it, and save it.
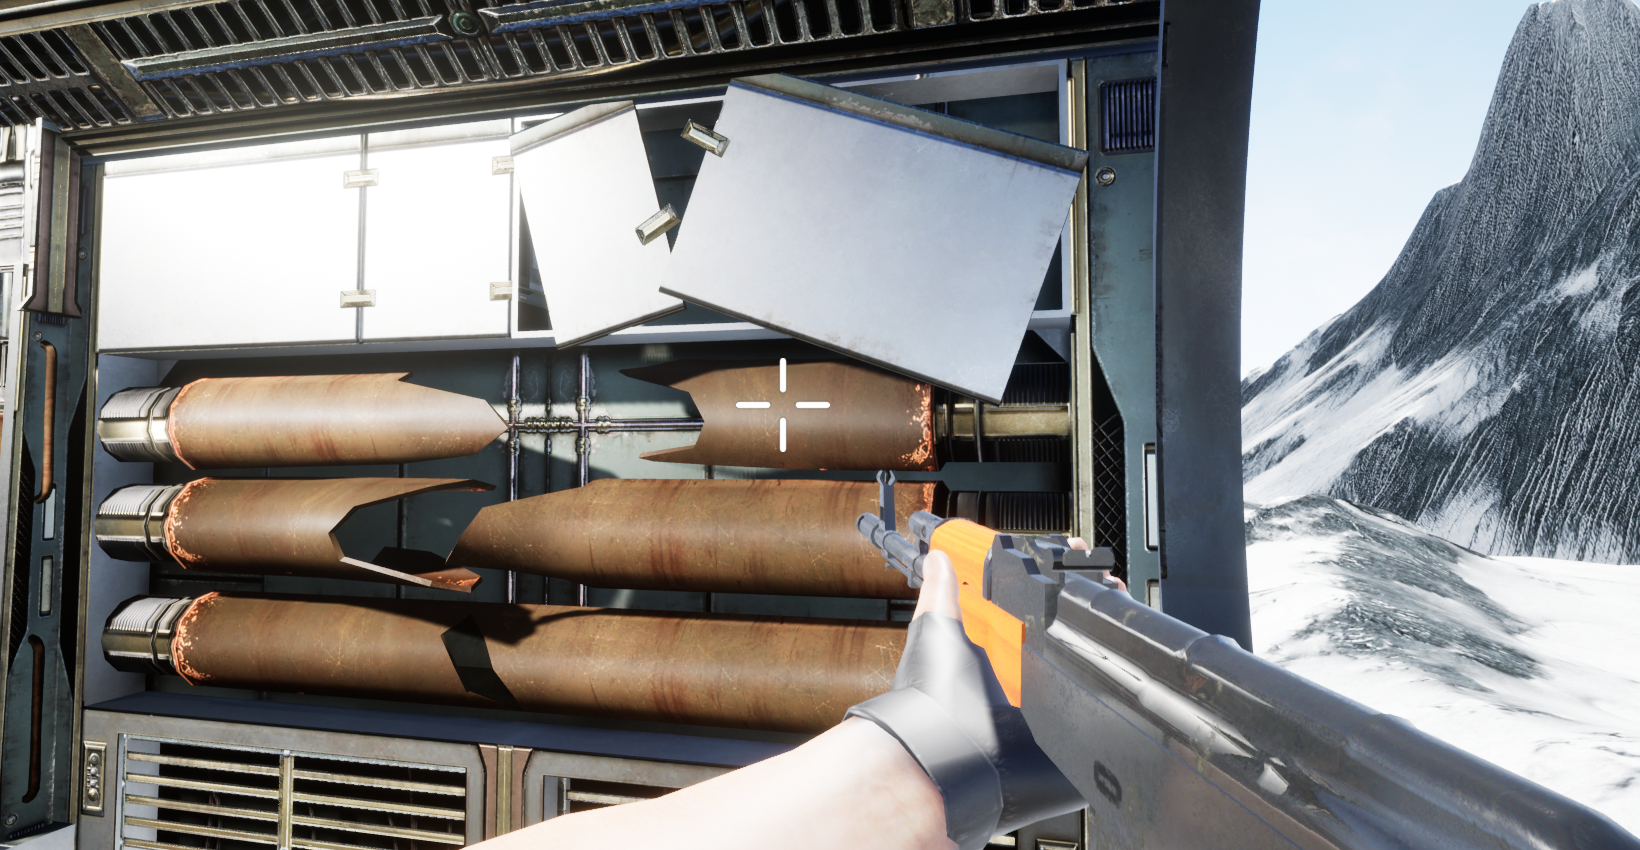
Our game now has a crosshair. If you don't like it, you can resize it or find another image.
Ammo and Health
Let's take a look at some of the player statistics. Particularly important are the player's health and the amount of ammo remaining in the magazine.
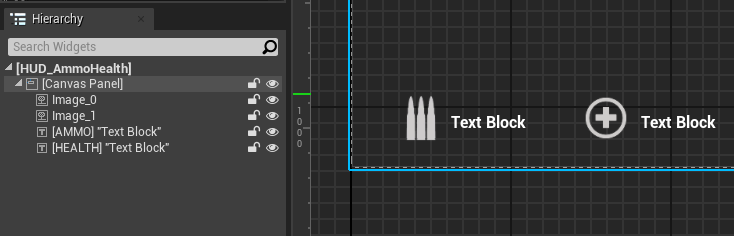
1. First, create a new widget and name it HUD_AmmoHealth. Make two images and anchor them to the bottom left point.
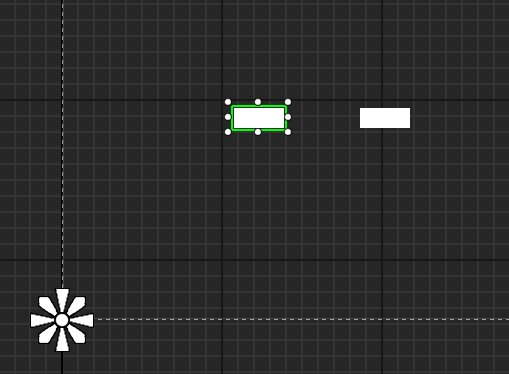
2. Select the ammo and health images from the appearance section, resize them (ratio is 1/1), and position them as desired.
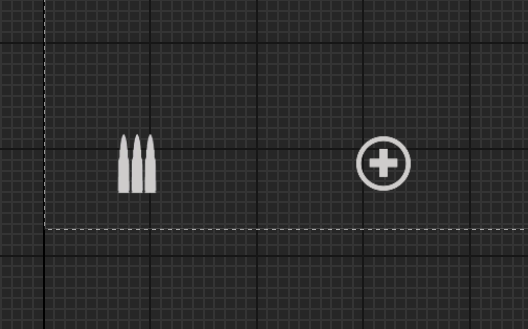
3. Create two text widgets and place them next to the icons (Anchor to left bottom also). Rename those to Health and Ammo, respectively.
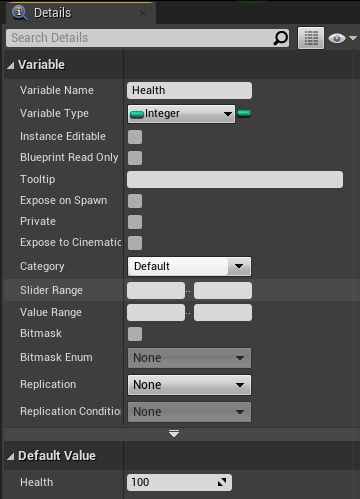
4. Let's quickly open our FirstPersonCharacter and add a Health variable (integer type) with a value of 100 to it (after compiling).
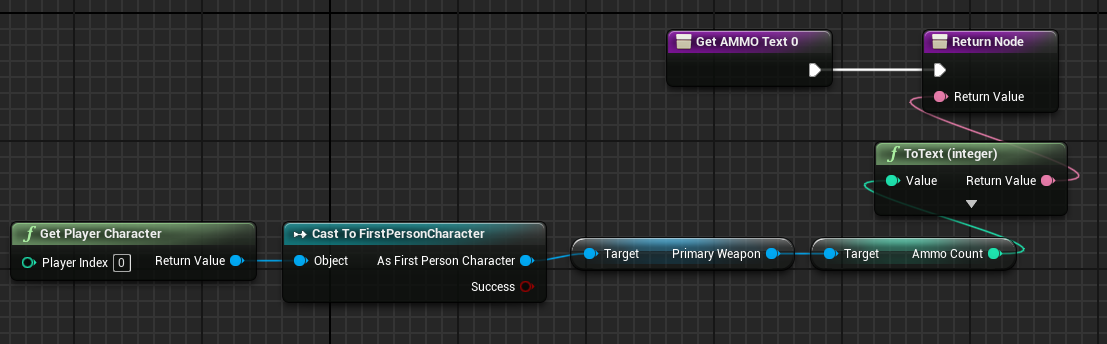
5. Let's now connect our ammo text to the ammocount variable. Click on the text, then click bind and create binding under content section > text. It will open a graph, and from there we must retrieve our character. Take the ammo from the character's primary weapon and place it in the return value.
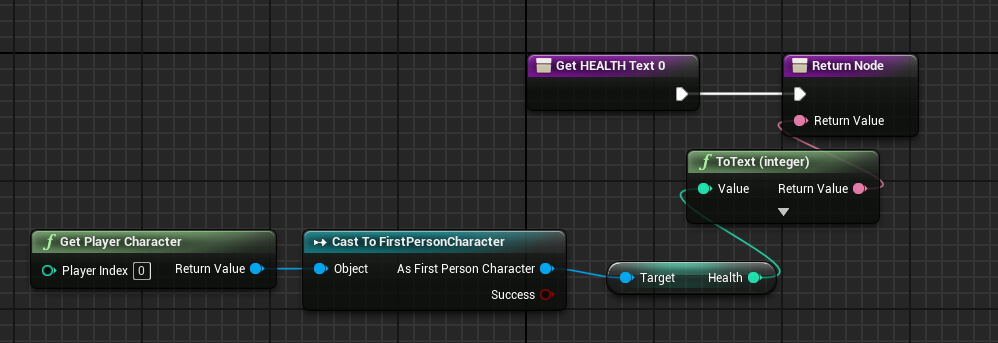
6. Return to the designer's workspace (up right corner). Do the same for health, but in the return node, return the player's health. Compile and save your work.
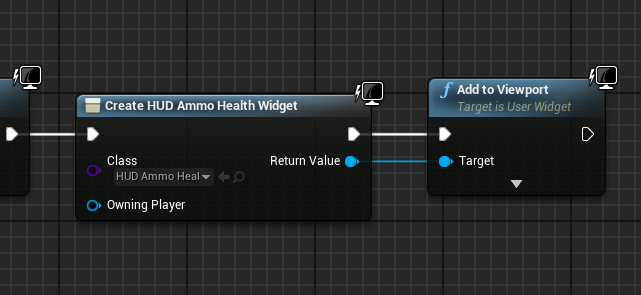
7. Go to our HUD blueprint and add AmmoHealth Blueprint to viewport. Compile and save.
Now we can see how much health and ammo we have.
Damage vignette
We need to demonstrate that the player is taking damage in some way. The game uses vignettes that appear on the screen's edges and depict blood to alert the player that they are under attack. Let's make it ourselves.
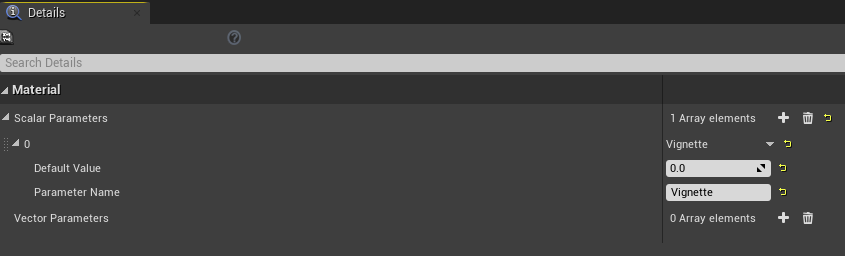
1. Let's start by making materials for our vignette. Call it Hit_PP and add MaterialParameterCollection to the materials & textures folder. Open it with the command MPC_Vignette. Under scalar parameters, press plus to add a new parameter called Vignette and save it.
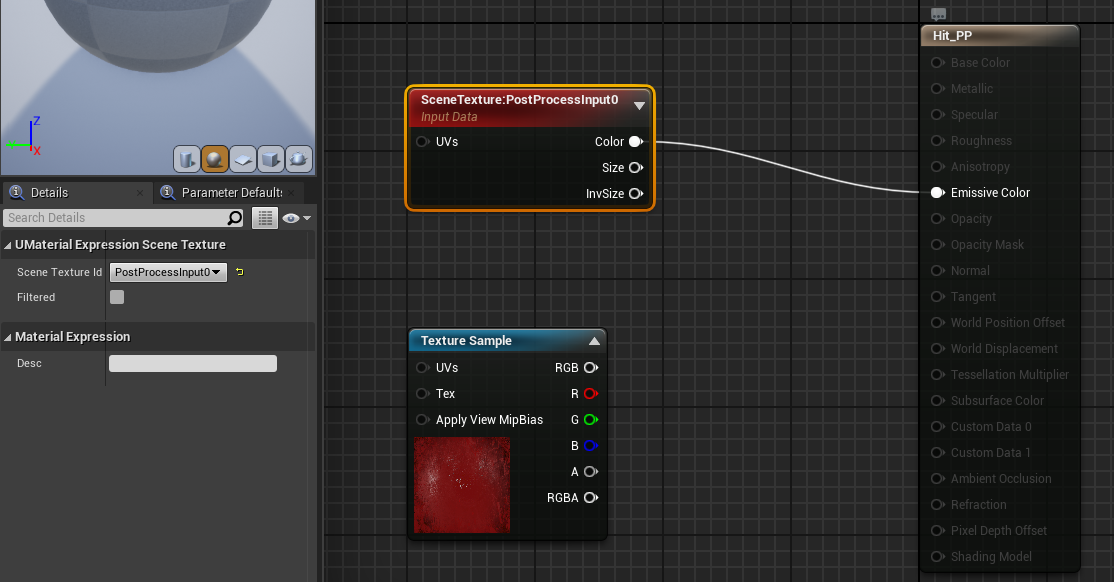
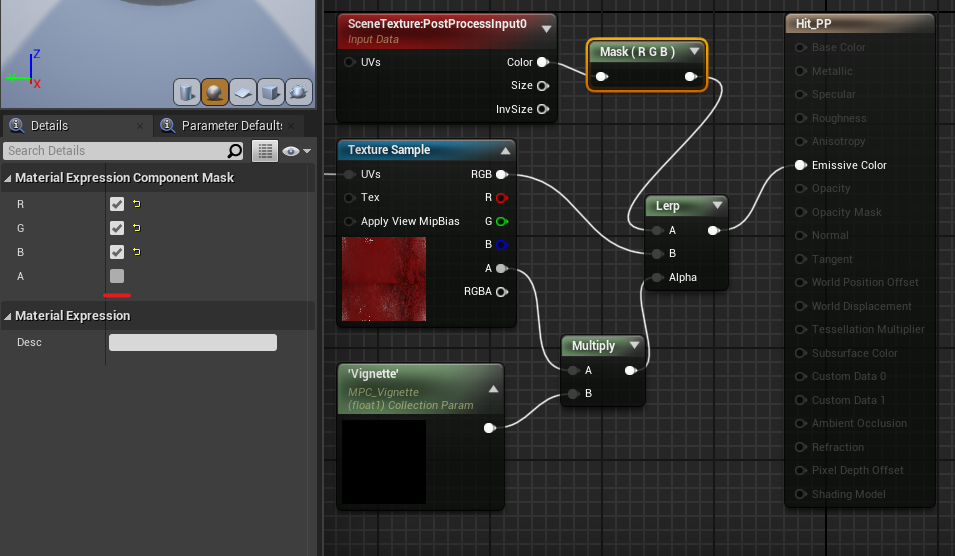
2. Open Hit material and change the material domain to post processing. Connect the SceneTexture node to the emissive color and use texture id as postproccesinginput0. Also, while holding T, create a texture node and select HitVignette.
3. Connect the ScreenAlignedUVs node to the texture sample UV input. Also, add a collection parameter node and select our MPC, then select vignette under parameter name. Now, let's multiply our texture alpha by the vignette amount by creating a multiply node (hold M), as well as a Lerp node and a lerp texture sample with our multiplied alpha as the alpha. Connect it to the color emissive.
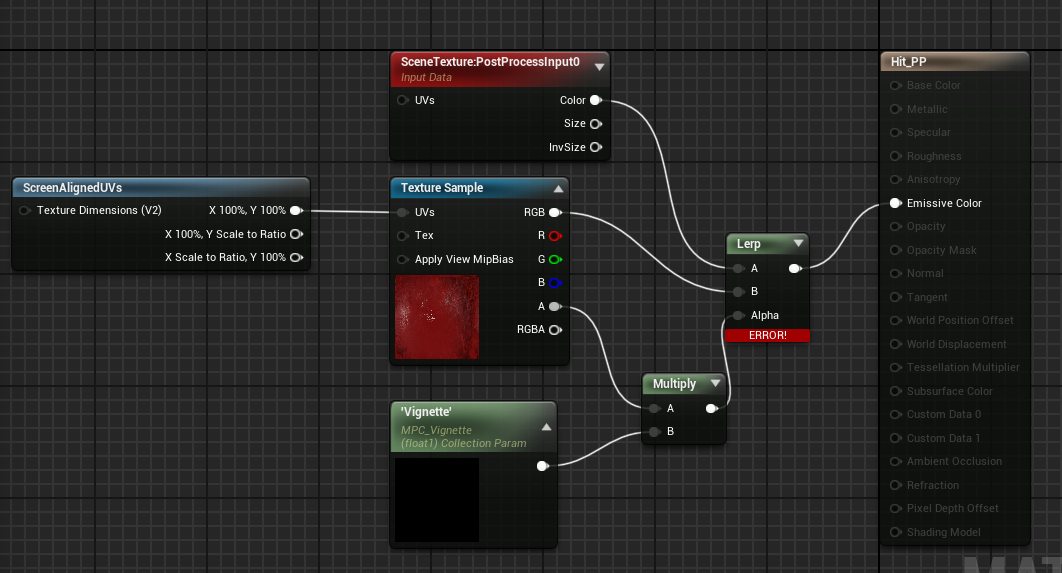
4. Unfortunately, we receive an error message because we do not require alpha from the scene texture. Drag a component mask from the scene texture color and exclude the alpha channel. Apply and save your changes.
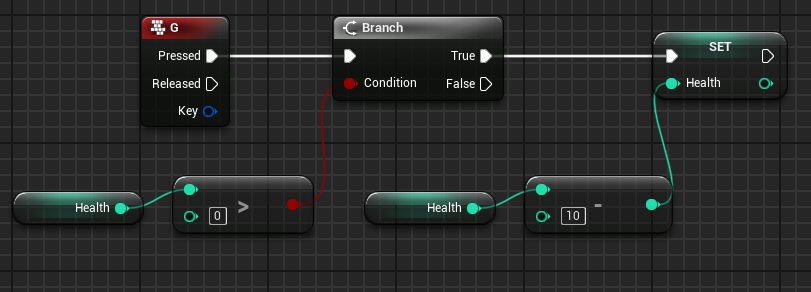
5. Lets create some kind of logic to see if it works. Open up FirstPersonCharacter and create G key event. Check if we have more than 0 health and decrement 10 from our health.
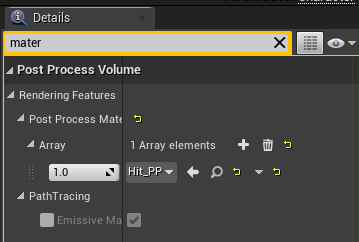
6. Lets now add damage effect. First create new PostProccessing component. Under Rendering features create new material, choose asset reference and choose our Hit_PP material.
7. Now Add new timeline node and call it vignette, connect it to play from start. Open it up and add new float by pressing on F+ button (name it float). It will create graph where we can set different values by time. Add two keys by right clicking and choosing add key. Set first key time 0 and value 1 and second time 1 value 0. Set the overall length to 1.
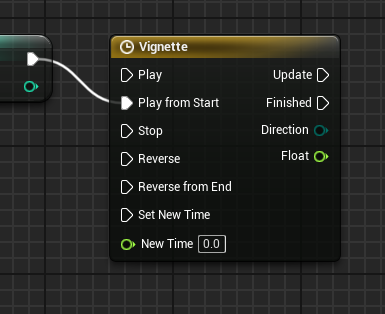
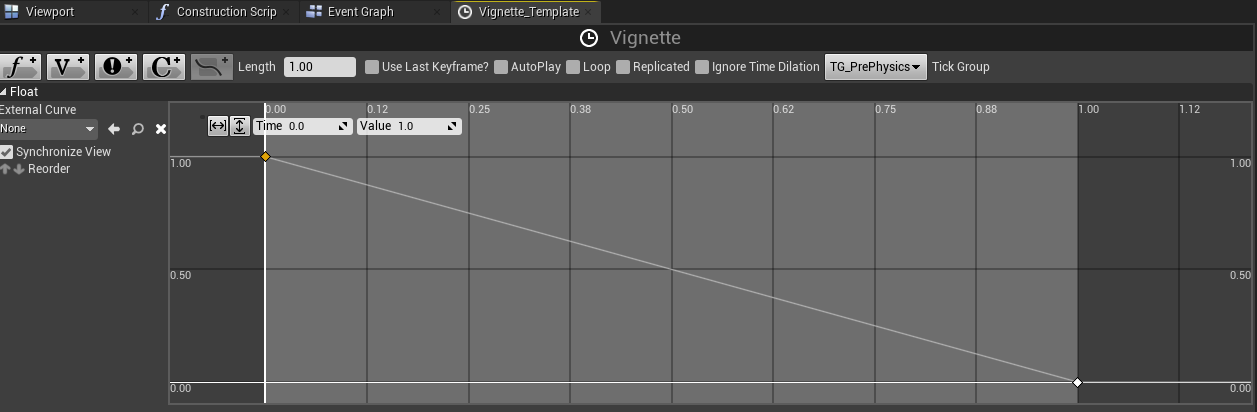
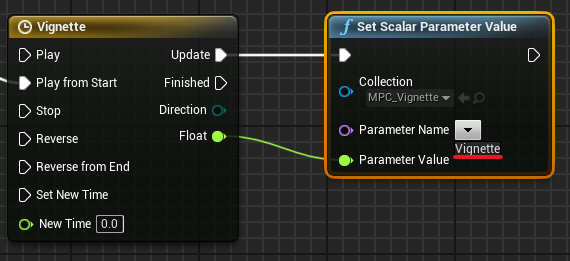
8. Create a SetScalarParameterValue node from the update output and select our MPC_Vignette value. Drag the float into the value of the parameter. As you can see, this timeline will change our vignette value from 1 to 0 in a single second, resulting in the damage taken effect.
Now when we hit G on keyboard, we will see damage effect and also decrease of our health
In the following lesson, we will create enemies that can inflict damage on our player.
© 2025 Edward Leks. All rights reserved.