Lesson #14 Game Menus
Main Menu
Let's start with a simple main menu.
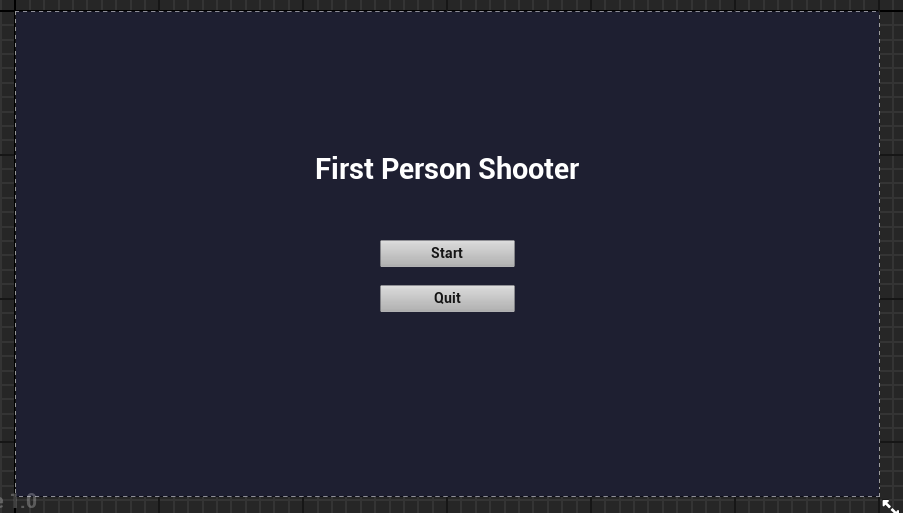
Make a new level in the maps folder called Main menu. Then, make a new Widget class blueprint called MainMenu_HUD. Create two buttons by opening it up (Start and Quit). You will have to manually enter text into buttons. Create a full-screen image and color it however you want.
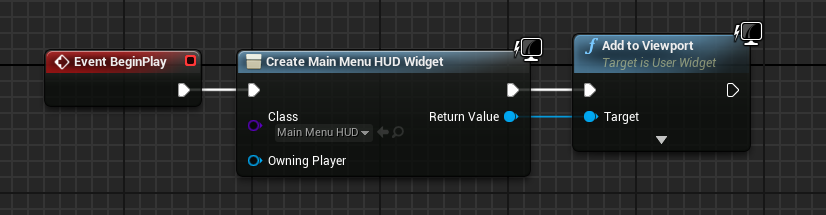
2. Create a new HUD blueprint and name it BP_MainMenu. Add your main menu widget to the event graph and then drag it into the viewport.
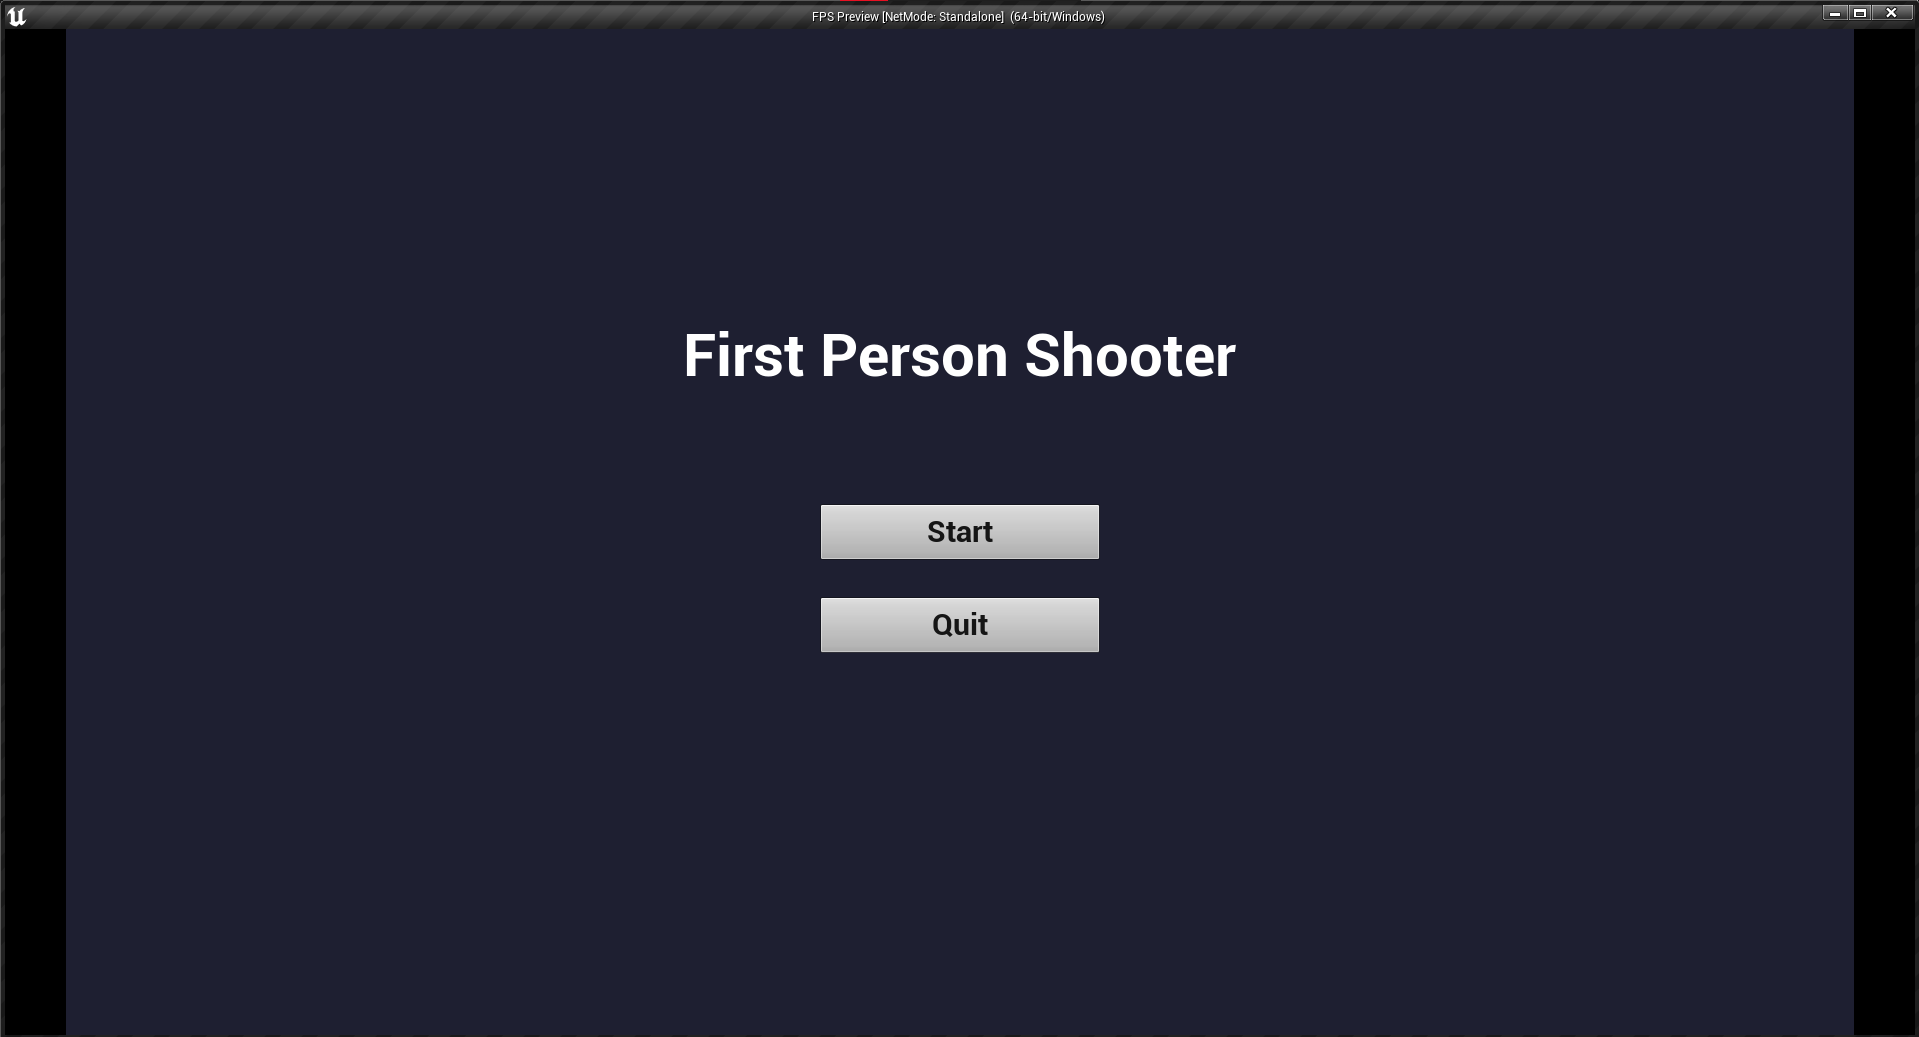
3. Make a new game mode called BP_MenuGameMode. Select our game mode and make our menu HUD the default in the world settings. When you press the play button, you should see your menu.
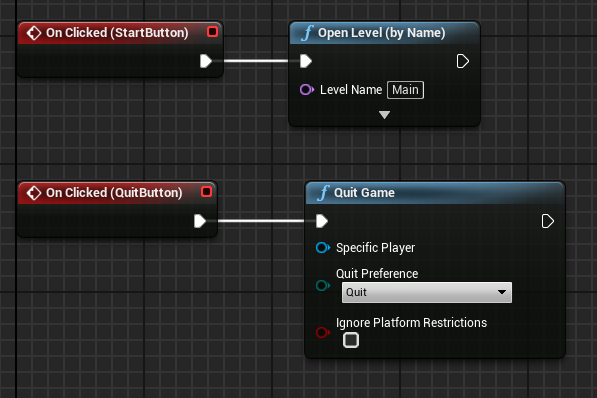
4. Now, open your menu widget and create on clicked events in the graph for both of our buttons.

5. Create Open level node and put your main level name in it, connect it to StartButton event. For quit event just create quit node.
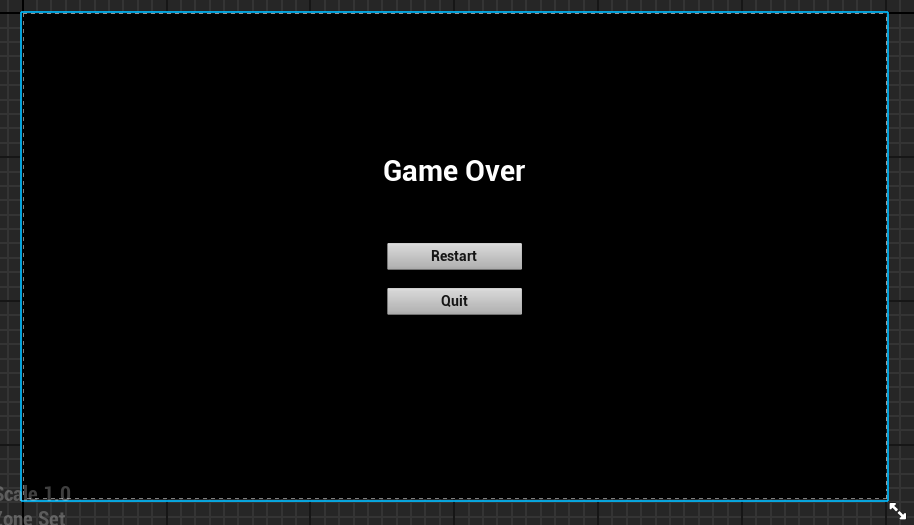
Game Over
Game over screen will appear whenever our player dies.
1. To make game over screen we basically have to do same steps as in main menu. Create new level, create game mode and create HUD (you can copy MainMenuWidget also). Events will be also same. On clicking restart it will load our level once again.
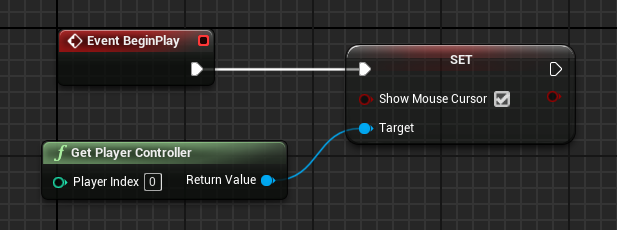
2. By doing this, you can open the graph in GameOvergameMode and set the show cursor. When we begin our level, it will enable our mouse cursor. If you don't do it for the main menu, you won't have a cursor.
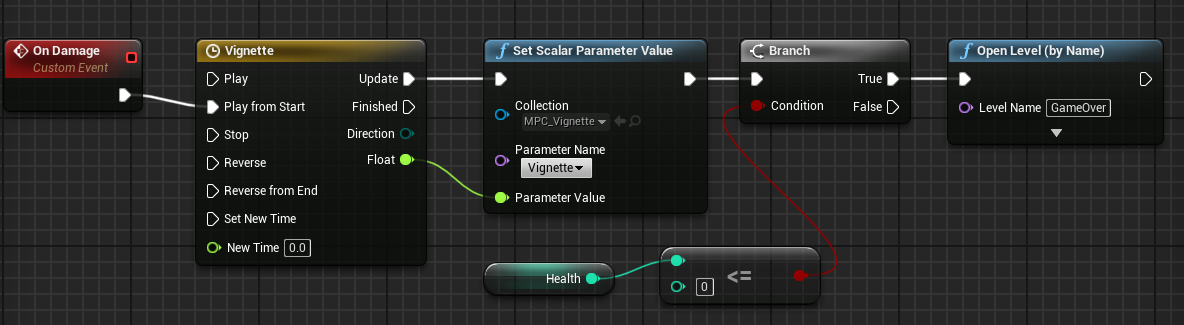
3. However, when our player dies, we should show this game over screen. So, take a look at our FirstPersonCharacter Blueprint. and after the damage event, add a branch that checks if the player's health is less than or equal to zero. If this is the case, proceed to the GameOver level.
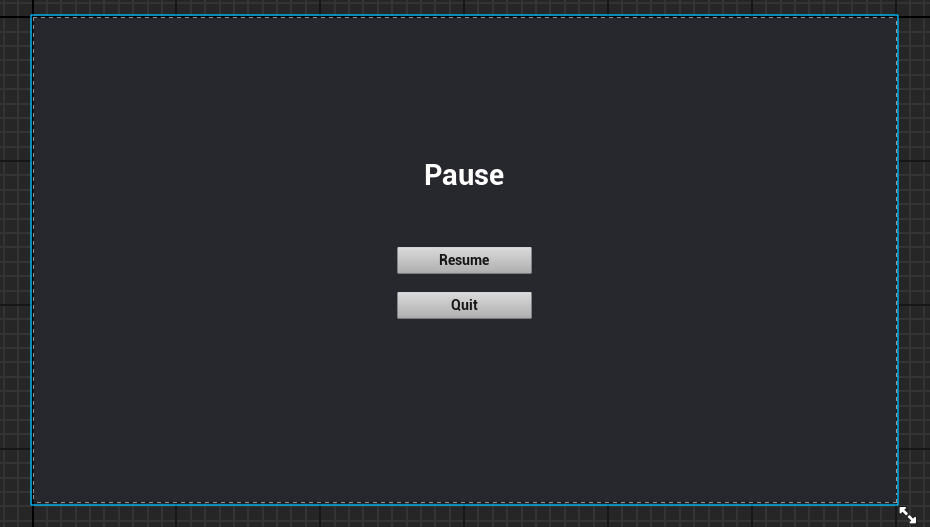
Game Pause
We should be able to pause our game. Lets create pause widget and logic.
1. Open up Project settings and add P or esc button to pause our game (Edit > Project Serrings > Input).

2. Make a new widget blueprint called Pause_HUD. And, as with the game over and main menus, create a pause menu. You can also copy to speed things up.
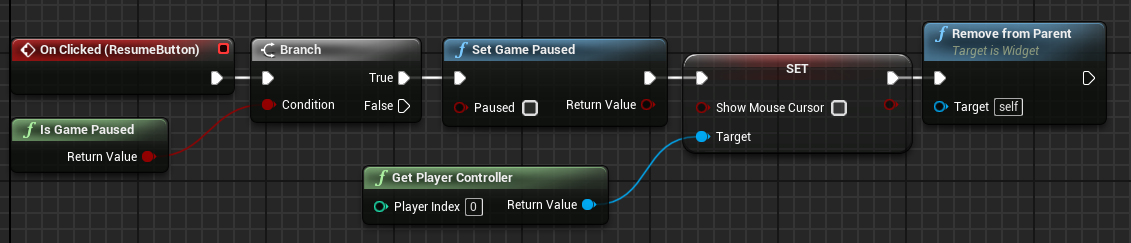
3. Open the graph and click the resume button to create a branch to see if the game is paused. If true, set the game's paused state to false and disable the cursor. Then, remove the widget from its parent. Compile and save your work.
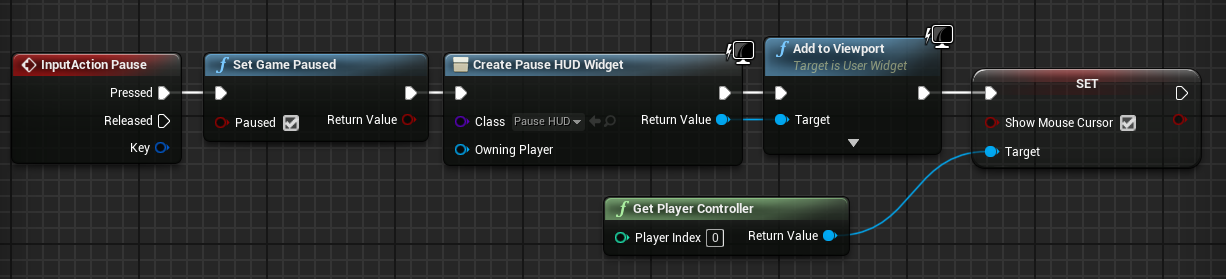
4. Open FirstPersonCharacter and look for the Pause input event. If you clicked the pasue button, the game will be paused. Then, make a pause HUD and add it to the viewport. Don't forget to turn on the cursor.
Now we have fully functional game UI
We'll put our game together in the next lesson.
© 2025 Edward Leks. All rights reserved.