Lesson #15 Game Compiling
In this lesson we are going to compile our game. In this lesson, we will put our game together. We can't always play it through the Unreal Engine editor, so let's compile our game into a separate program that you can share with your friends. Perhaps you could release it on Steam or another platform.
Compiling
1. First delete all Polar pack levels, because we don’t need them.
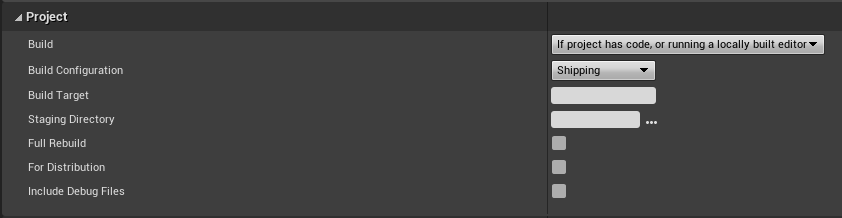
2. Open up project settings and go to packaging section. From there under Project section choose build configuration Shipping
3. Select Cook only maps in the Packaging section of the advanced settings.

4. Add maps that you want to build in the same location. Click the plus sign (+) next to the list of maps you want to include. Include by clicking three dots. Navigate to the location of your game > open the content folder and look for the map folder. Include them one at a time.

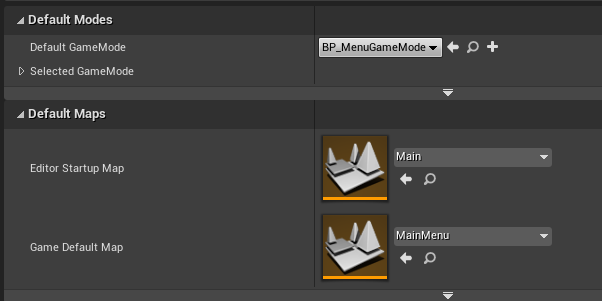
5. Select the default gamemode and maps in the maps and modes settings. The default map will be the main menu, and our level will be the start-up map. (You probably assumed that the startup map was Menu, but Unreal Engine does it differently.)
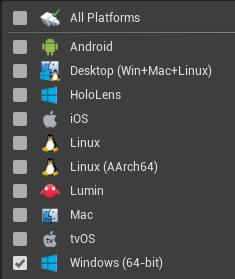
6. Under Supported Platforms check only windows, it will speed up exporting.
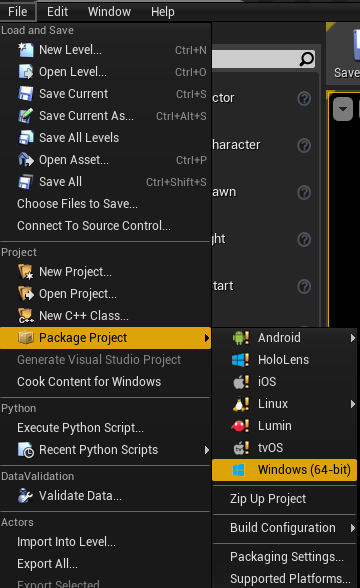
7. Now, in the Editor, select File > Package Project. Choose your platform, followed by the location where you want to export your game. Following that, Unreal Engine should begin building your project. It may take a long time to build at first, but the next time you build your game, it will be much faster.
This concludes our lessons. You've finally finished your first first-person shooter game. Feel free to change the game and add new features. The best way to do so is to watch YouTube videos and search the internet for instructions on how to make various items. I hope you enjoyed this lesson and will see you in the following courses. Good-bye!
© 2025 Edward Leks. All rights reserved.