Lesson #3 UE4 Editor
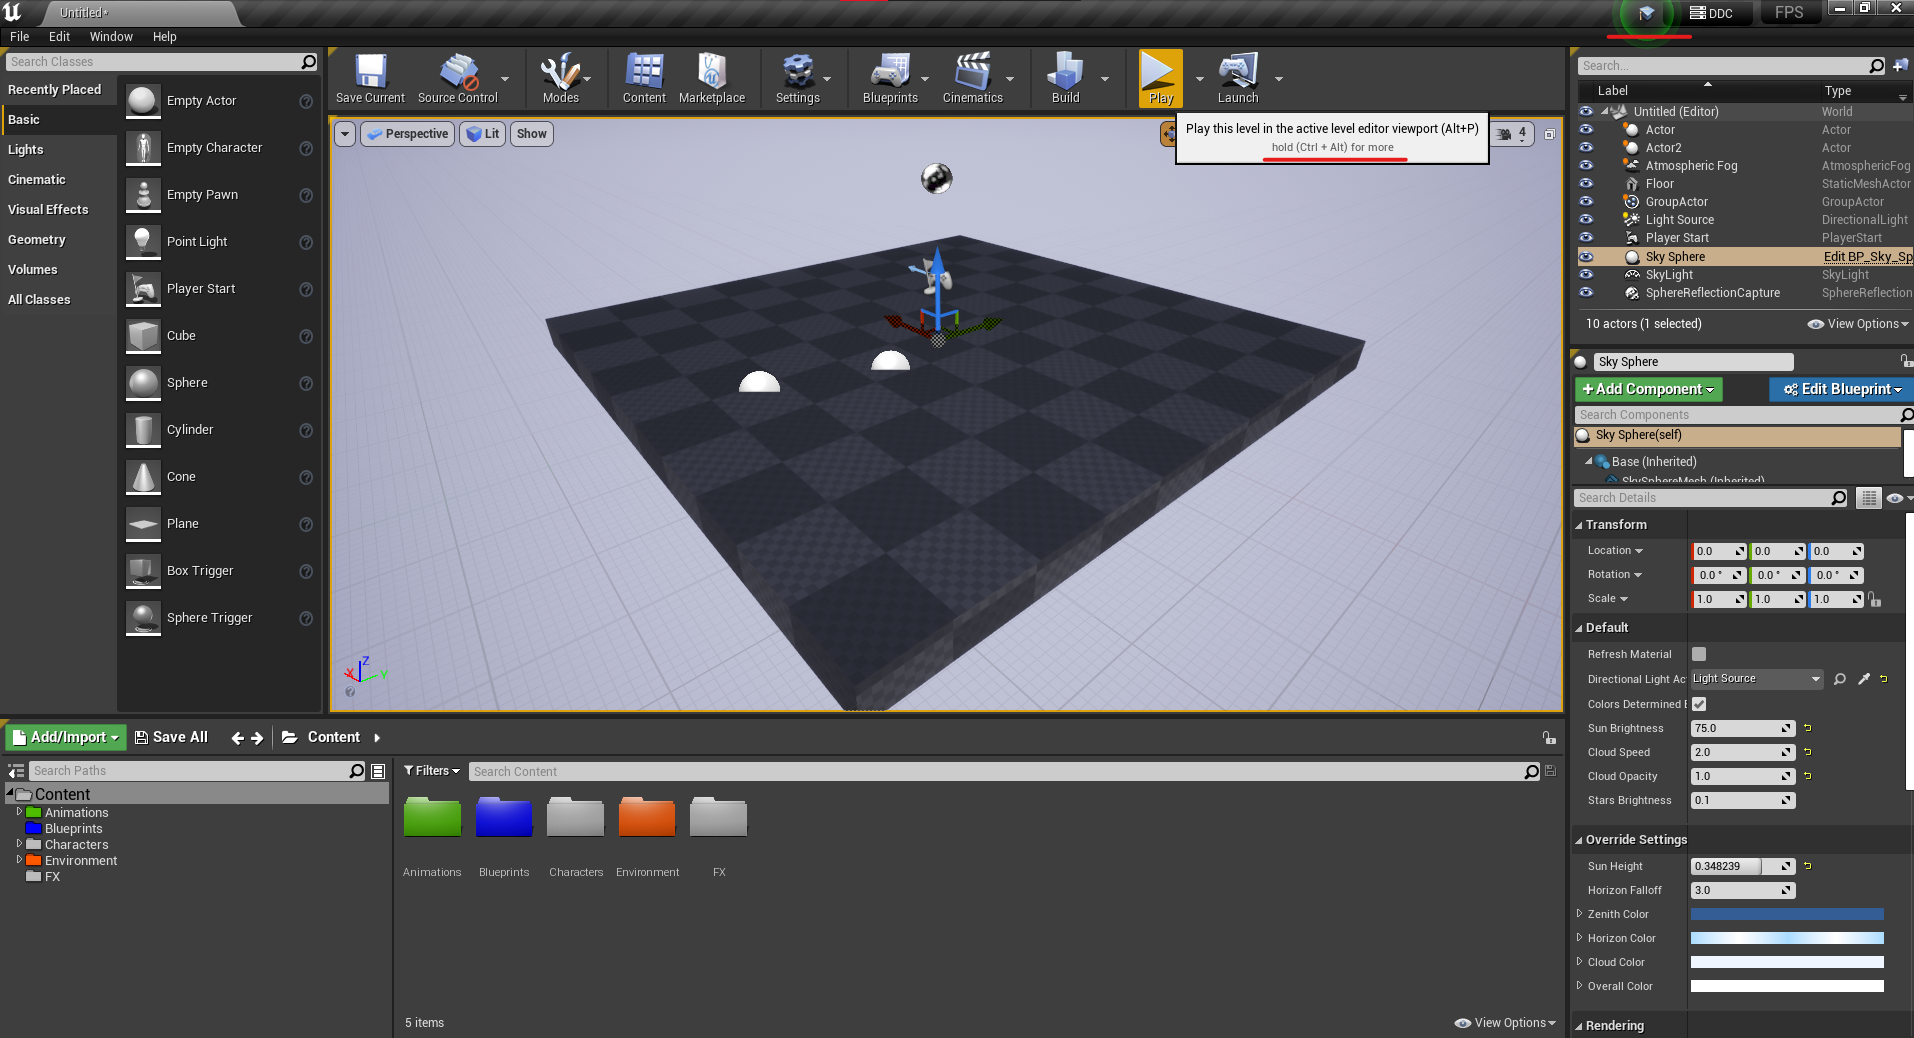
In this lesson, we'll look at the Unreal Engine 4 editor and some of its tools. This is the main environment in which we will work on our project. You can move all little windows there as you want and if you want to go back, go to Window > Load Layout > Default.
Viewport
This is viewport. Visual representation of game will be shown here.

Object transformation modes, snapping to plane settings, and camera speed are listed from left to right.

You can change the camera view angle by holding down the right mouse button and moving with the WASD keys. You can move up and down by using the middle mouse button.
The object will be focused if you press F.
By pressing G, you can turn all of the gadgets on and off.
F11 will launch the viewport in fullscreen mode.
Official documentation contains all of the shortcuts, and it is also a good place to find information about things you don't understand.
Place actors section
Place actor section contains built-in objects. These objects are known as actors.
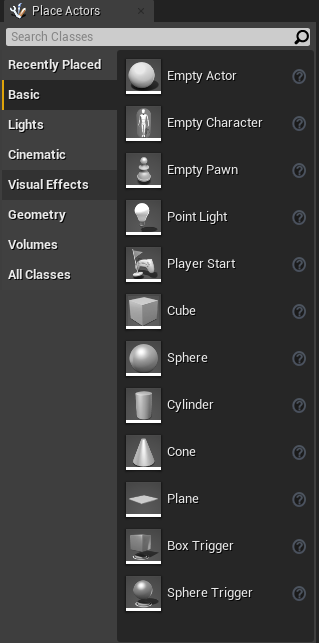
You can drag them into the viewport and drop them into your level.
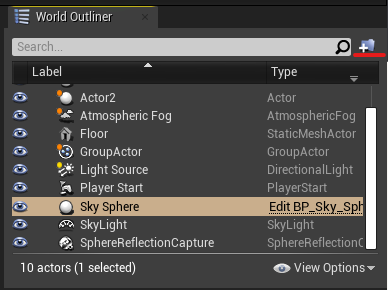
Word Outliner
The world outliner tab displays all of the objects that have been placed in the scene. You can group those objects by making a new folder and putting them in it.
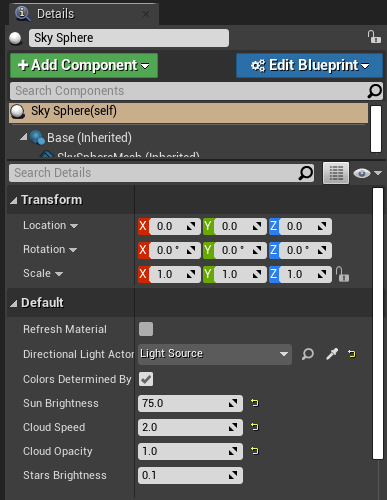
Details panel
In this panel, you can change the properties of specific objects in the world. There are many options, but for now, we'll focus on the transform section.
Main toolbar
You can save your project, change project settings, and run the current level in various modes from the main toolbar.

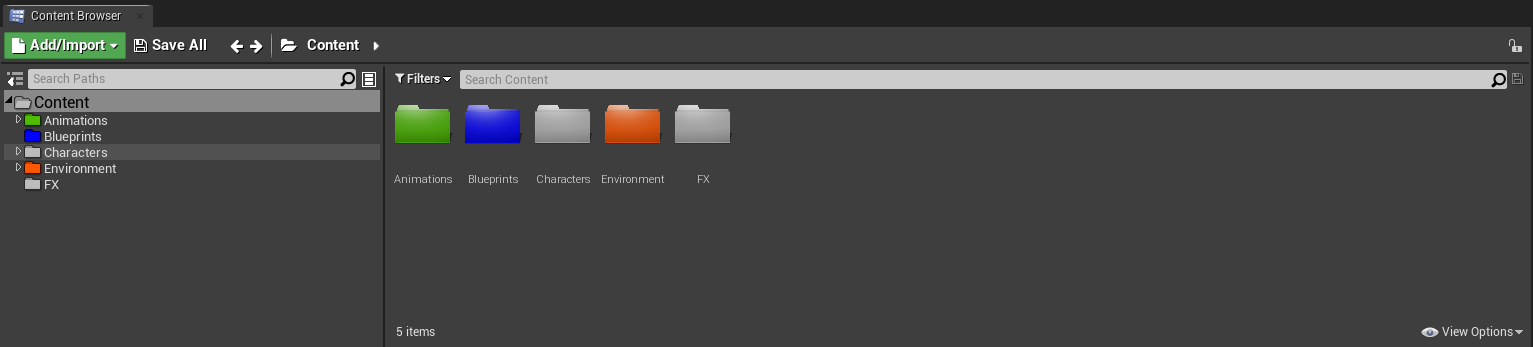
Content browser
The content browser is where you keep all of your assets, blueprints, animations, and so on. This is similar to a file explorer in windows but for our project.
Tutorials
There is a built-in tutorial to help beginners get familiar with the editor. You can also access additional information on some of the elements by pressing Ctrl + Alt.
In the following lesson, we will construct our first level and become familiar with the editor.
© 2025 Edward Leks. All rights reserved.