Lesson #8 Adding Animations and Models
Download assets: HERE
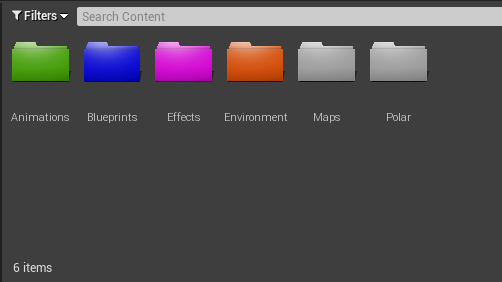
Folders structure
First, let's make a folder structure. We'll need folders for animations, environments, and effects. (You can change colors of the folders like me).
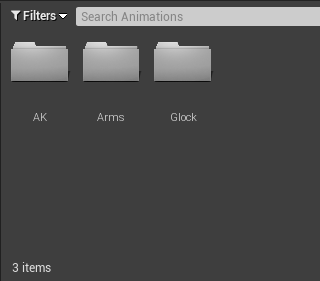
Make subfolders for AK, Glock, and Arms in the Animation folder. Creating a folder for each object's animations will be useful in the future.
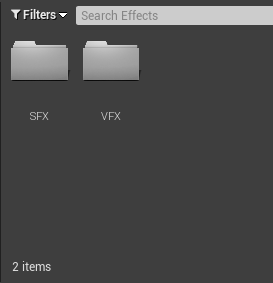
Make subfolders in the effects folder for VFX (Visual effects) and SFX (Sound effects)
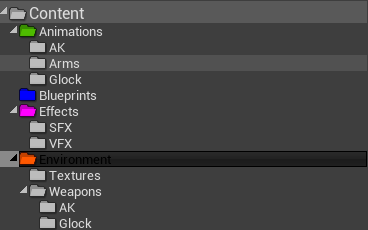
Create a sub-folder for Textures and Weapons in the environment folder. Also, in the weapons folder, make subfolders for AK and Glock. This folder will contain all of your game models. It's also a good idea to make an understandable folder structure so you don't get lost in your assets.
You can make a separate folder for our main character, or you can make a folder in the blueprint folder. I'll make a folder in the blueprint folder for that.
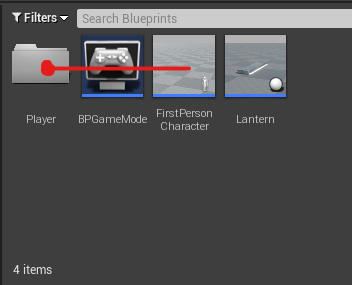
And let's make a Mesh folder in here (You can also have animation folder here, but I will leave it in the animation folder).
Remember that folder structure is a personal preference; you will figure out your own. The main advantage is the ease with which assets can be found. I showed you my route because you have no idea what to expect right now.
Importing files
You'll need to import everything into the right places from the folder you downloaded. Let's take it one at a time.
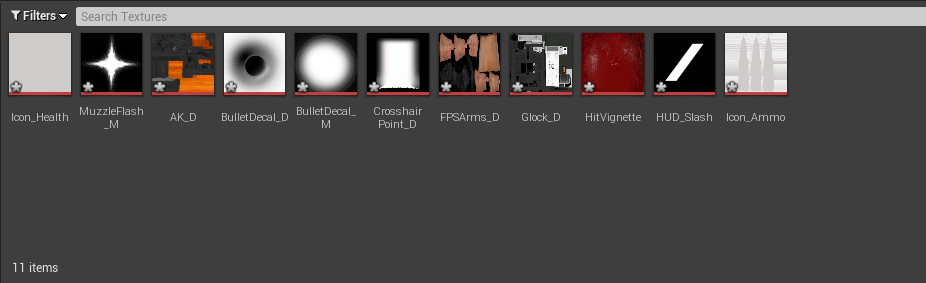
1. To import textures, open the Textures folder and drag and drop them into your content browser's textures folder.
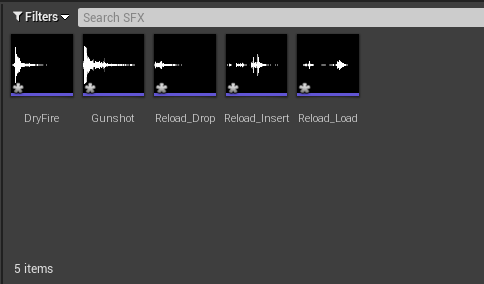
2. To import sound effects you also have to drag and drop, but into SFX folder.
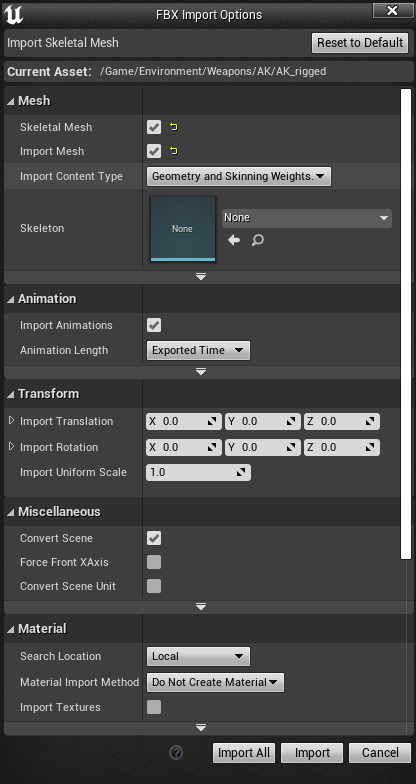
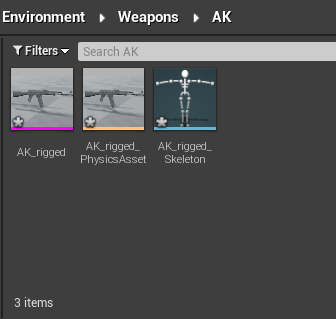
3. Drag and drop AK/Glock into the Environment > Weapons folder and Arms into the Player > Mesh folder after opening the Rigged Meshes folder. It will open windows with various settings. Uncheck Skeletal Mesh and Import Mesh if they are checked, and uncheck Import Textures if they are.
Note: You can double click animation to see if it is working properly.
Materials
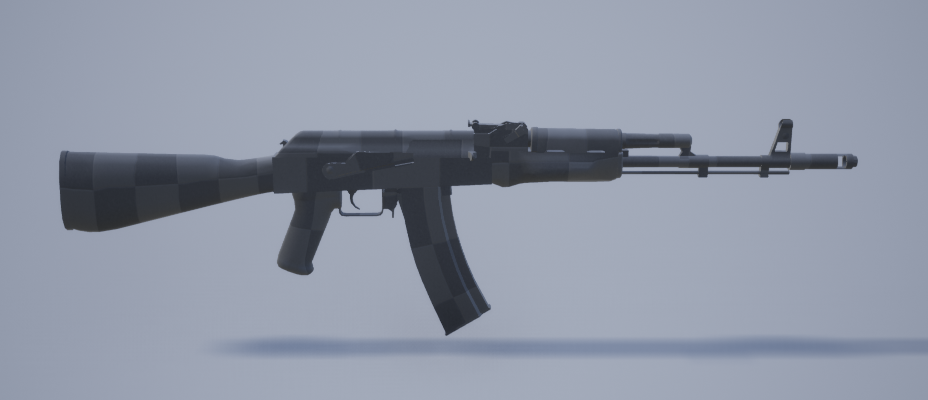
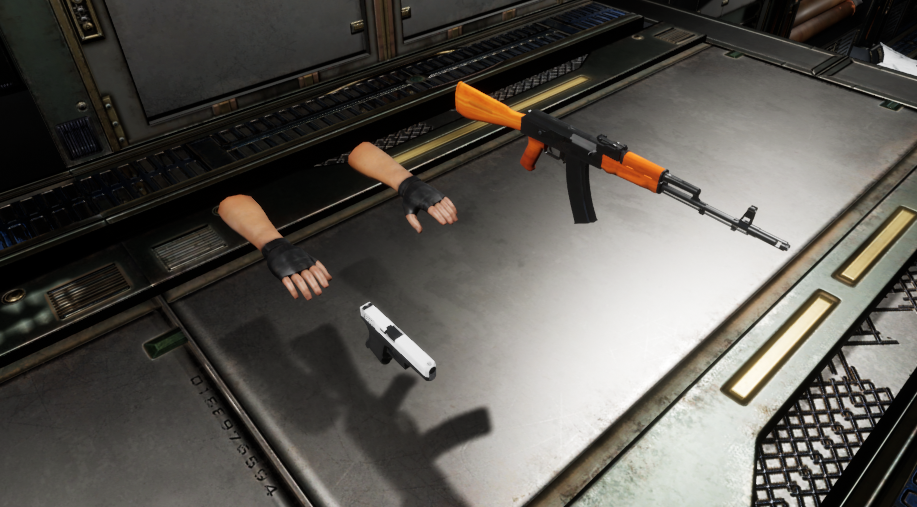
As you can see our models/skeletal meshes doesn't have any material. Lets create those.
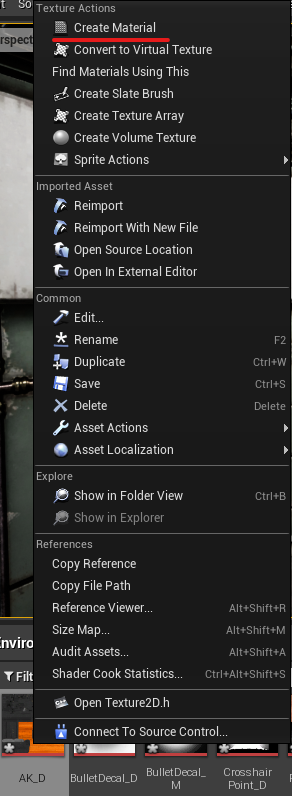
1. Locate the materials for AK in your textures folder. Create material by right-clicking on the texture. It's also a good idea to keep your materials in their own folder.
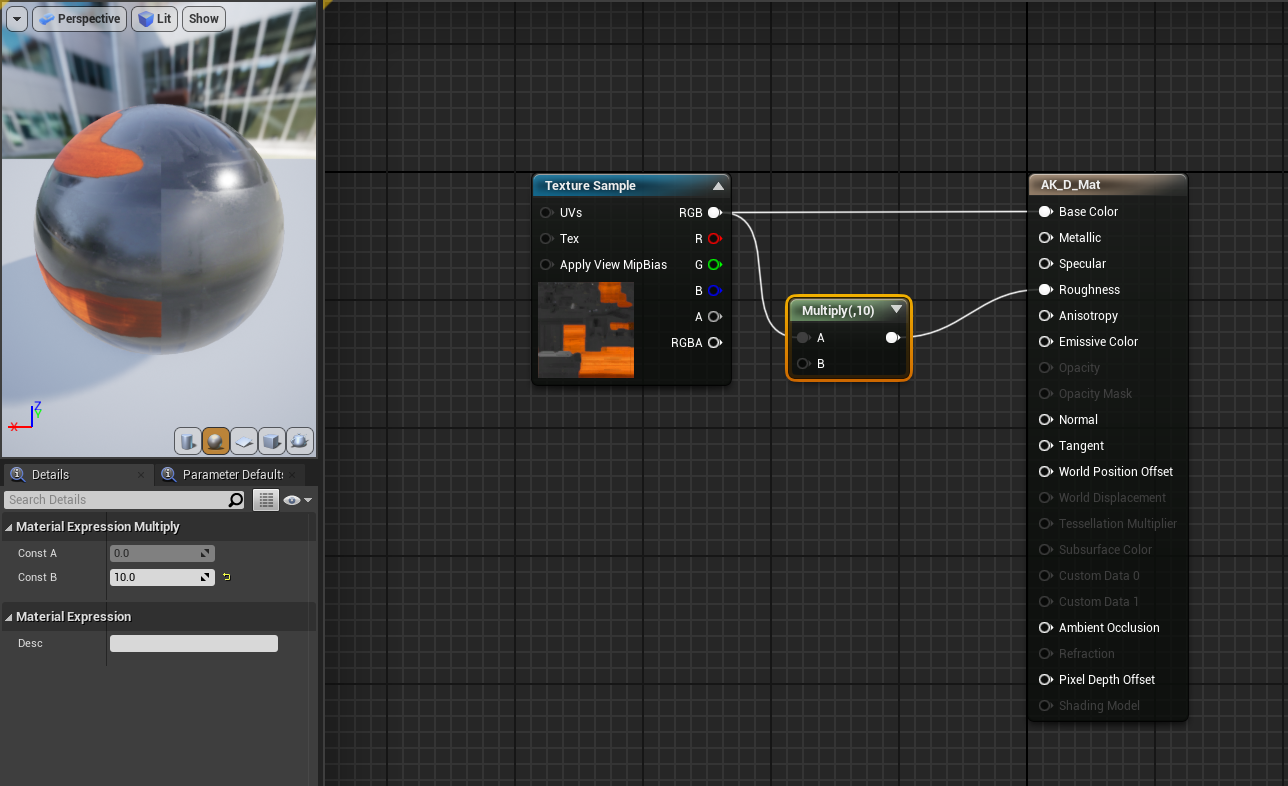
2. Open up material. Let's add a little metallic look to it. Texturing is a completely different topic, so we won't go into detail. Insert a Multiply node from RGB into the roughness channel. In the details panel, set Multiply to 10. Don't forget to save and apply your changes.
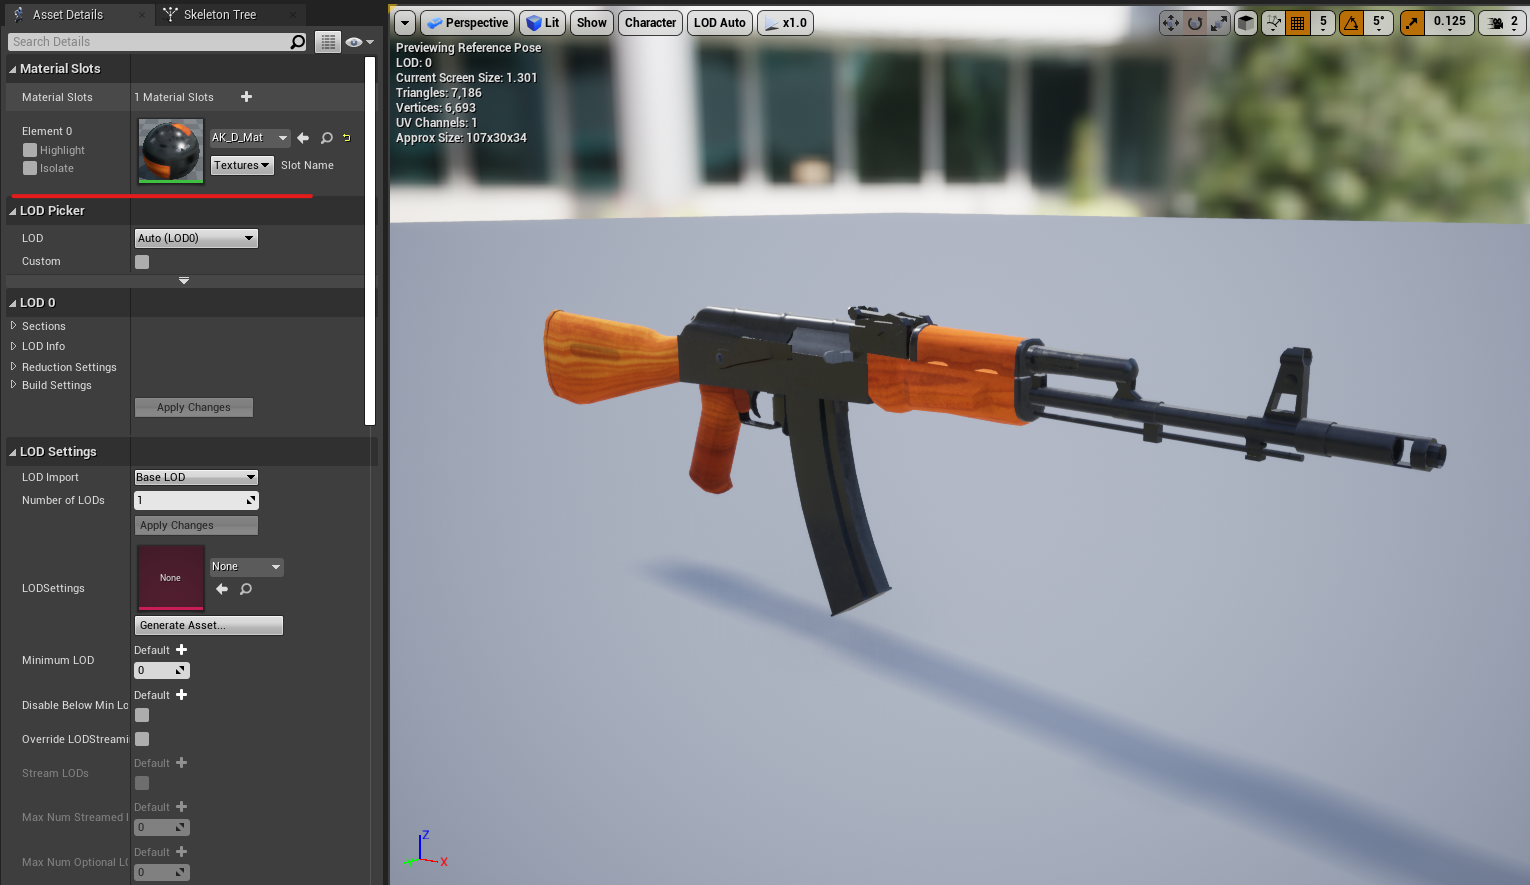
3. Open your skeletal mesh of AK and pick the right material in the asset details section. It's looking much better now.
4. Do same thing for your Glock and Arms. But don’t make arms metallic.
In the following lesson, we will add those animations and models to our Player controller.
© 2025 Edward Leks. All rights reserved.